|
To learn to silk paint you need:
Silk paint (at least 3 colors) - Setasilk or Dye-na-flow
Silk scarves, handkerchiefs, or
lengths of silk
Brushes (foam, bamboo, or regular nylon - medium to
large with fine points for detail work, and broad edged for filling large areas quickly before the paint drys with a
hard edge)
Silk stretching method (a wood frame with tacks is fine for practice
work - cover the wood with tape for easy clean up)
Gutta or resist, and applicator bottle with tip. This is
like a glue that you use to draw a picture on your stretched silk. When it dries, it will contain the paint in those
areas. After your design is painted, dried, and heatset with an iron, the resist simply washes out. Or choose
a colored gutta/resist that is also heat-set, to get colored outlines.
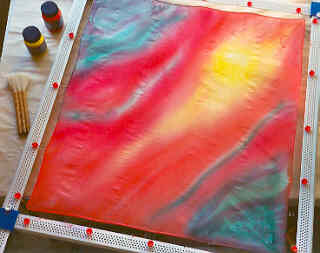
To paint a silk scarf, it is first pinned and stretched out on a frame like a trampoline.
For a watercolor effect (below), it is then painted with water first, and colors are added quickly so they blend together.
Sea salt or drops of rubbing alcohol may be applied to push the dye away from small areas, leaving a scattering of light colored
or white specks.
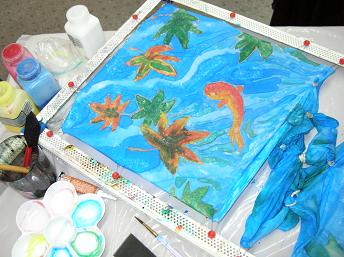
ADVANCED: Koi Pond (below)- Stretch
the silk, then use gutta to outline the fish shapes and leaf shapes. Let the gutta dry for at least 20 minutes.
Then select your colors and let them blend inside the shapes - don't
paint too close to the lines! The color will spread out on its own to fill in the shapes.
Paint the background in wavy lines, so that the hard edges that
come from painting on dry silk look like water ripples (see the same effect in tan and red - photo right). Throw on
some salt for effect if you like.
Let dry for 24 hours, iron to heat set, let sit another 24 hours,
then wash, line dry, iron and wear!
|

