|
Try it!
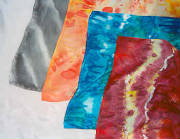
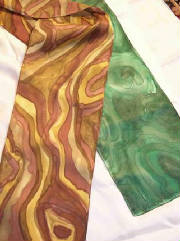
With these materials, you can use tie-dye or watercolor wash techniques, blurring wet colors together
for a soft, dream-like effect. When you paint a small area of color onto the silk, you will see it flow outward and
blend with any other colors you paint next to it. By scrunching up a plastic garbage bag or drop cloth underneath the
painted silk, you can get interesting effects as the paint follows the contours of the scrunched plastic. Or, you can
spread the silk flat on a plastic drop cloth, and paint simple patterns of stripes, dots or swirls.
Dye-na-flow and Setasilk silk paints can be set by ironing, and 24 hours later are ready to wash and
wear. Do not dry clean silk-painted items.
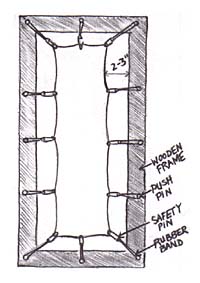
For more advanced silk painting, you will need a way to stretch the silk - a wooden frame, pushpins,
safety pins and rubber bands can serve as a makeshift stretcher frame - and a tube of heat-set resist, to draw lines on the
silk that the paint will stay within.
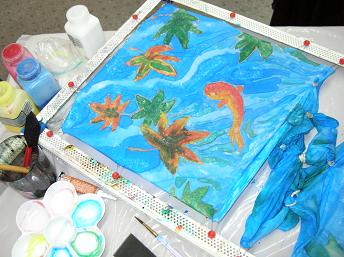
By combining the simple watercolor wash technique in which colors blend together, with a few areas of
color or an image separated by resist, you can achieve more complex paintings such as the koi pond below.
| "Koi Pond" by Susan Sieber |
|
|