|
PREPARE TO COLOR
1. Draw a picture* of a manga character - person,
animal, tree, whatever!
2. Ink your drawing (draw over the pencil lines
in ink, then erase the pencil).
3. Use a scanner or digital camera to transfer
your drawing on to the computer (save the image as a JPG or JPEG). Now
you're ready to color in Photoshop!
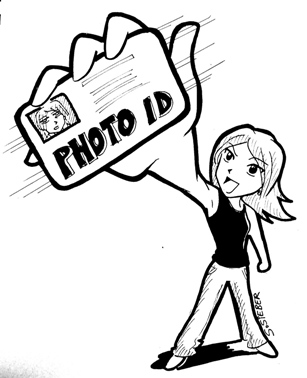
*If you don't have a picture ready,
right-click and Copy the example "Photo ID" picture below, and then Paste
it into Photoshop.
STEP 2: The Brush Tool

Use the Brush Tool (click on it or press B
on the keyboard) to color in the areas you've selected.

Choose a size for your Brush that is easy to work with, and choose Mode:
Darken - this makes sure your black ink lines are not covered up with color. Make sure Opacity and Flow are 100%. (If you want
a soft airbrush effect, you can lower the numbers for Opacity and Flow.)
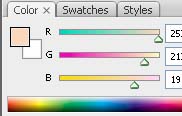
Choose a color from Swatches or Color tabs on the right
hand side of your screen.
STEP 3: Shading
Now choose a darker color from Color or Swatches to shade
your drawing. In my example, I used a darker skin tone along the bottoms of the arms, the bottoms of the fingers, and
under the chin.
STEP 4: Keep Going!
Use the Selection Tool to select new areas, and then the Brush
Tool to select new colors - and keep coloring until your picture is done!
In my example, I used the Selection Tool to select the mouth area, and colored it in pink.
|